
Appingine
Let's Discuss Your Tech Solutions

Camilla Lawrance
 25/09/2025
With the enhancement in the technology, if we go through the market, there are 3.55 million applications in the Google Play Store. These applications help brands and businesses to maximize their sales, brand recognition, and strengthen customer engagement as well as loyalty. Making a decision to invest in developing a mobile application, especially for Android, brings a collection of opportunities and profits at the doorstep for the business.
Therefore, having a mobile application is a golden asset that not just highlights your business but generates tons of millions of USD worldwide. So don’t miss any of the opportunity, hop right into the blog and learn how you can develop an Android app.
Android is known to be the best and most widely installed operating system across the globe. More than hundreds of millions of mobile devices are powered by the Android operating system and have conquered around 71% of the global market share.
At first, Google sponsored the project, and later in September 2008, the first devices that were completely powered by the Android operating system were launched in the market.
You must still be wondering what Android even has to offer. It's user-friendly, with an extent of customization, and has large companies building compatible devices. and most of all, has huge loyalty support.
Since the market has observed what actually defines Android, it has also noticed a sharp shift and increase in the demand of application development for Android.
Let's be direct about what Android app development actually is. Well, the process of developing apps for Android that run on the Android operating system involves several functionalities, such as code writing, designing user interfaces, and integrating various functionalities to produce a fully functional app. So without further waiting, let’s get right into it.
Trust the Android App experts at Appingine and let us handle all the tough work.
Hire Experts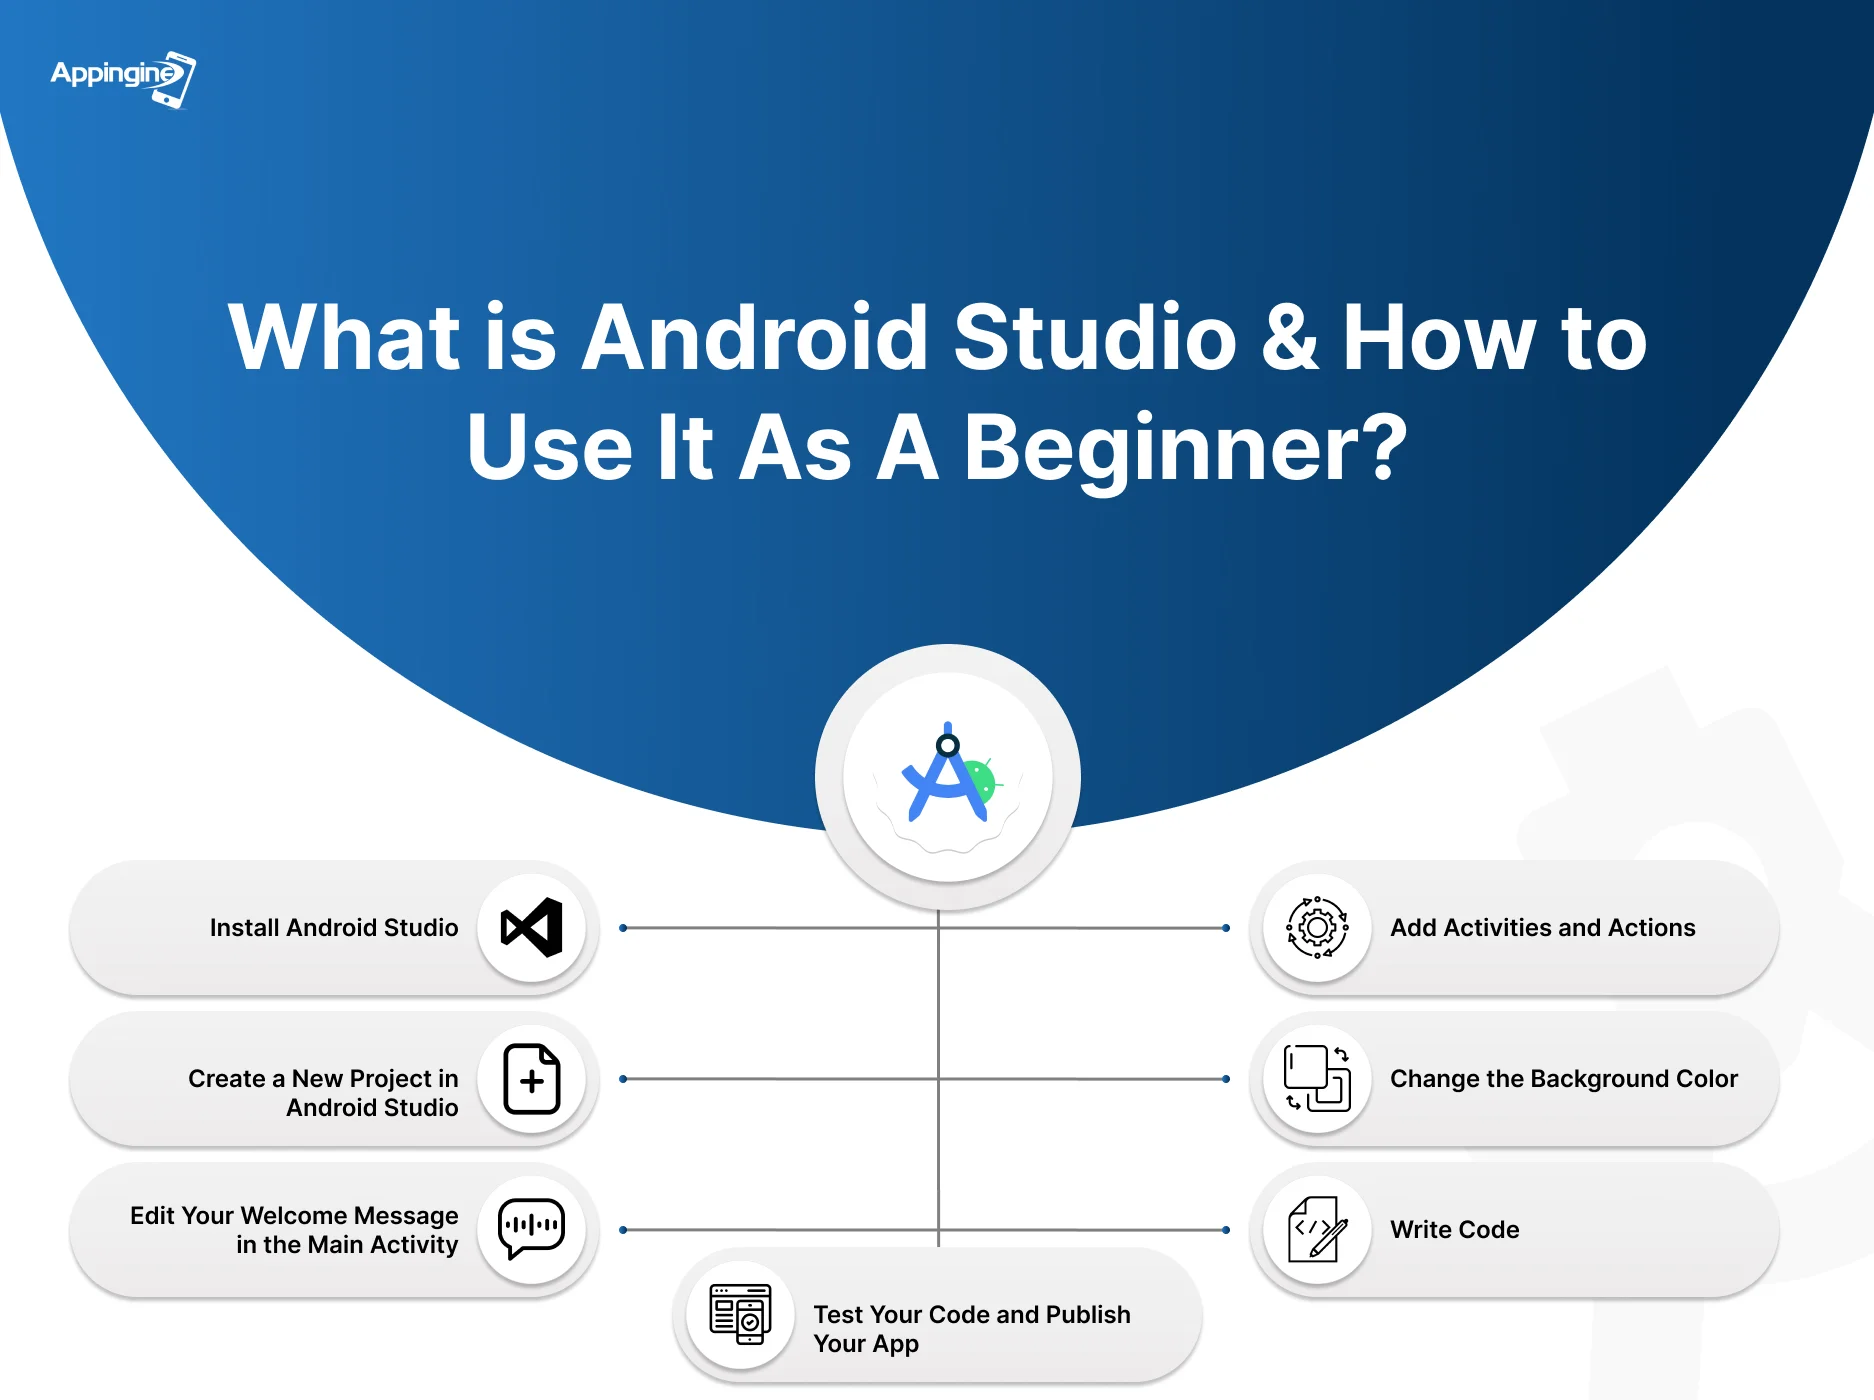
There are certain tools that are utilized in the process of creating Android apps, and Android Studio is one of them. If you are new in developing apps for Android, you should know that Android Studio is a tool that is officially an integrated Development Environment for Android applications. And if you are experienced in the field, you must be aware of the pros of an IDE kit. Though, the backend can be intimidating, that may cause complex code sequences during the application development for Android. Before making a decision, ensure you or the developers you are hiring must be familiar with the following.
While some projects are challenging to begin, but the very first and crucial step in developing an Android app is to install Android Studio on your PC.
Before stepping-in to make an Android app, start with the empty activity project template. Following are the instruction to be followed when you open Android Studio:
When the project is optimized, then you will see an app subsequently built by the Android app development tool. Also, you will later notice the progress bar and a message to keep you updated.
It's quite easy to edit your welcome message. Just go to the ‘activity_main.xml tab’ and ensure that the ‘activity_main.xml display’ has the Design tab active. You can also follow the following steps that are listed below for your ease:
For further edits and to add a button on the main activity, navigate to the design tab and then follow these steps accordingly:
Your app may perform a bunch of activities and actions, all you have to do is go along with the following steps to add subsequent activities to your Android application:
Adding features and repeating the very same step can be a bit boring, but not to worry anymore. Let's move further to some customizations so that you can make your app look visually appealing. Let's look at how you can change the background of the app.
You can also take your time and take advantage of the functions Android Studio brings you with different colors and options.
Android Studio not just allows you to work through the built-in template, but if you are a professional developer, you can add custom code for the features and functionalities that need to be added to make applications for Android. All it needs is the management of data between the end-user and the server-side or a cloud solution during the backend stage.
To write code in Android Studio, follow these general steps:
To test your application, click the green play button in the Android Studio toolbar, then select “Launch emulator” in the “Choose Device” dialog and click OK. Once the emulator opens and the virtual phone is unlocked, the app should launch automatically; check that all text is visible and the button works as expected.
After testing the functionalities of the app and further developing your app, you can publish it to the Google Play Store, which requires a Google Developer Account and if your app includes in-app purchases, a Google Merchant Account as well. Once those are set up, you’ll upload your app bundle or APK and follow the steps in the Play Store publishing process. Since it's a bit complex, watching a detailed YouTube tutorial may be helpful.
Let our Android app developers develop your app today!
Get A Free QuoteEvaluating several key factors that involve project requirements as well as team capabilities is how you can choose the right framework for your app development for Android.
Be sure to decide between native languages (such as Kotlin or Java for better performance and device access, or even cross-platform languages such as Flutter and React Native across iOS and Android. You can use native for high-performance or hardware-specific features. On the other hand, cross-platform suits most standard apps.
Using frameworks like Flutter or React Native may hasten the process of creating Android apps with the help of hot reload and ready-made components. Most importantly, you must go with the framework that aligns perfectly with the skills of your professionals to reduce learning time.
While developing an application, it is important to make beneficial choices. Thereby, using a single codebase for multiple platforms can lower development costs. Additionally, consider how easy it will be to maintain and update the app with your chosen framework that not just includes bug fixes but also adds new features as well.
Select a framework that offers the UI/UX flexibility needed to create a smooth, intuitive user experience with your desired design and user flow, while also ensuring it can easily integrate with essential third-party services, APIs, and databases.
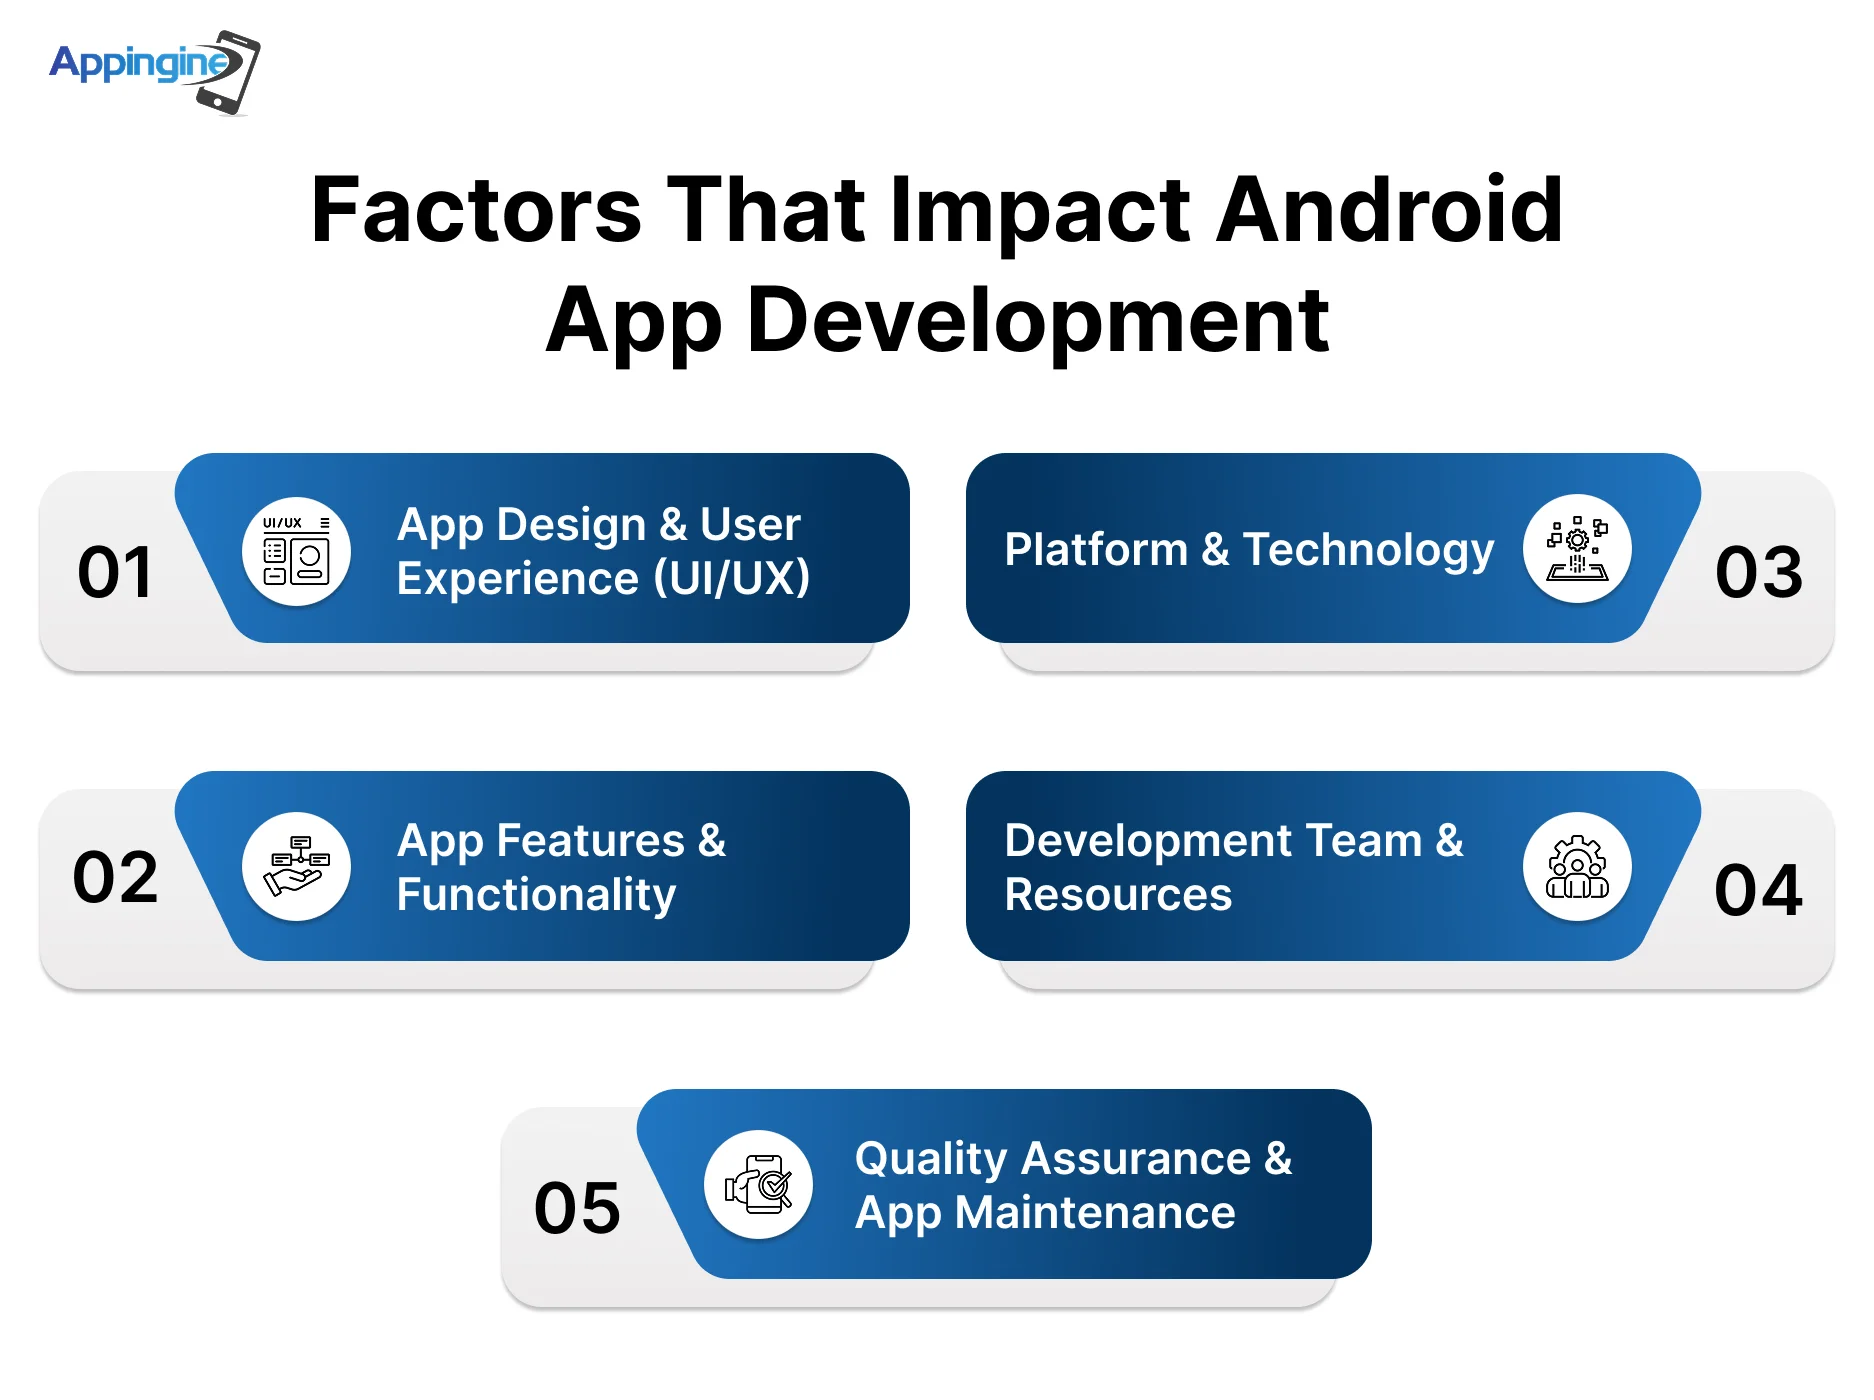
There are several factors that are impacting the Android app development which include, complexity and features, UI/UX design, platform and device compatibility, the choice of technology stack, development team location and expertise, the need for third-party integrations, ongoing maintenance and updates, and comprehensive quality assurance testing.
Here’s a breakdown of these factors:
Apps with advanced designs and multiple screens, with complex user flows are more challenging and costly to develop, especially as users increasingly expect a visually appealing, intuitive, and user-friendly experience that requires greater investment in design and UX.
Apps with advanced features, complex algorithms and extensive functionality require greater development effort and resources and the addition of third-party integrations, such as external services, APIs, and databases, further increases both the complexity and cost of the development process.
The wide range of Android devices and OS versions creates challenges in ensuring consistent performance and compatibility, while the choice between developing a native app or a hybrid app affects both the development approach and cost. Additionally, the selected tech stack includes technologies and frameworks that play a crucial role in determining the project's overall cost, efficiency, and scalability.
The expertise, size and location of the development team significantly impact overall development costs and project timelines. Additionally, the requirements for backend infrastructure, such as servers, databases, and configurations, significantly influence both the overall cost and complexity of the app.
Thorough testing to ensure compatibility and functionality across devices is vital, while ongoing maintenance, which includes updates and bug fixes, becomes a continuous job in the post-launch phase.
Mobile applications have become essential to pursue business strategies across the industry. The importance of the mobile application can not be ignored; it is more about creating an engaging and captivating application that works as a bridge to connect companies and customers. However developers are also humans, and humans make mistakes.
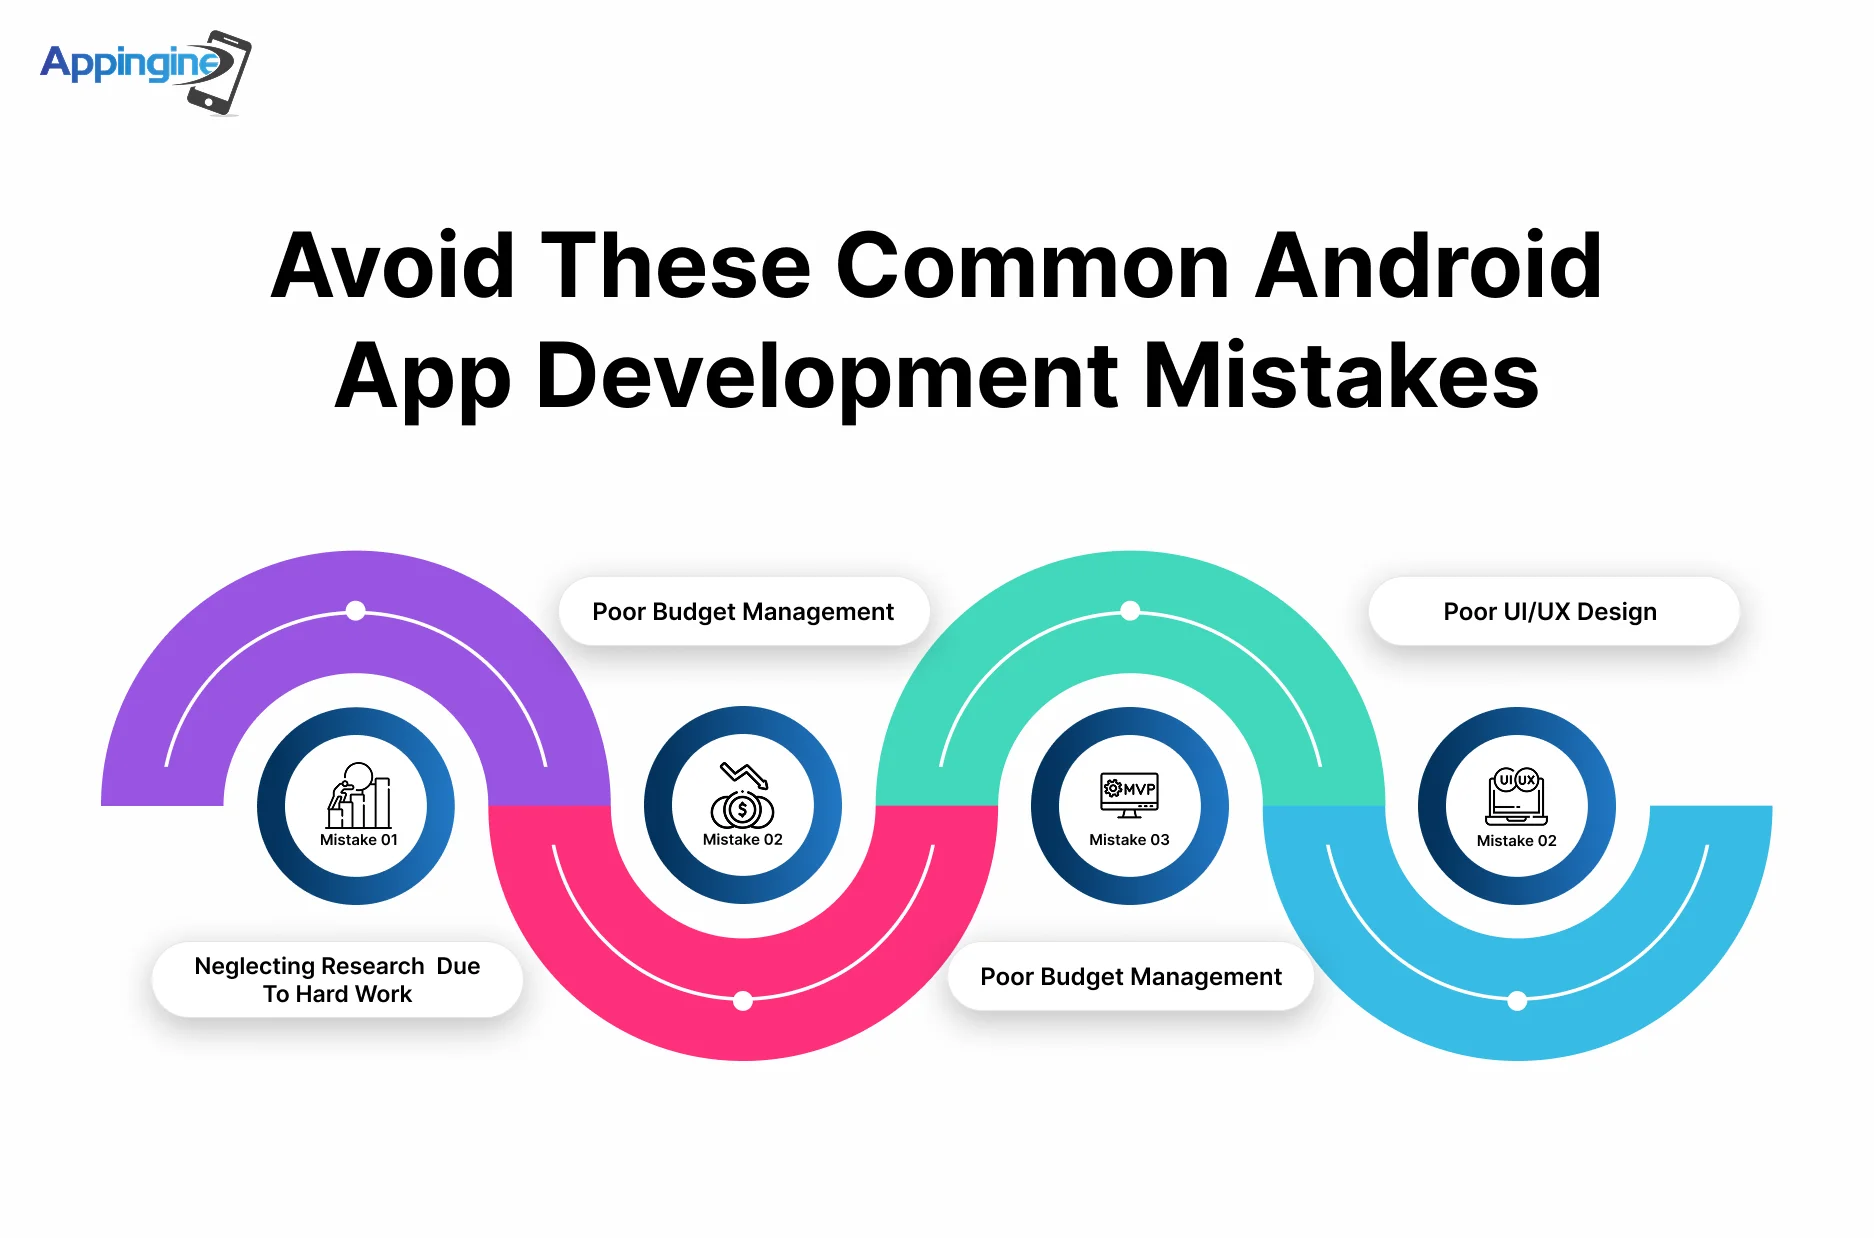
To avoid mistakes in the designs, or app development, while building an app for Android, many companies that are creating Android apps can take heavy precautions. Here are some of the common mistakes that need to be avoided while developing the mobile application on the Android platform.
Overseeing app development that jumps into the process without making a plan and a clear goal can be the reason for long-term frustration. Whether you intend to build an app for yourself, utilize a no-code tool, employ an agency, work with a freelancer as a no-go, or become a white-label reseller, selecting the appropriate development platform or solution is essential to its success.
The decision becomes more complicated because each alternative has its variations, pros, and cons, such as small app development companies or major international corporations. Their procedure of developing software is like purchasing a car, but doing research and going through the market thoroughly is a necessary job to be done before hopping into the development of the application including reading reviews, looking into customer experiences, testing demos, and speaking with professionals.
Working on a budget is a common mistake that is often brought on by false estimations, not having clear goals or objectives, ignoring technical expenses etc. To avoid this issue, start by creating a budget that includes all project phases, the development team, technologies, and more. Moreover, accurate budget estimations can be obtained with the use of tools such as mobile app cost calculators. It's crucial to take into account how expenses may be affected by advanced technologies like AI and AR. Developers often make the mistake of ignoring budgeting due to a lack of expertise. Accurate budgeting is crucial to providing development services to determine profit margin profitability.
A common mistake made by app developers is to jump straight to the final build without first developing a Minimum Viable Product (MVP). By allowing you to test the functionality and performance of the app before moving on to the next step, an MVP focuses on the most important elements. Simply, an MVP is made up of the engine, steering, wheels, and frame, just as when you are willing to build a car. This approach ensures a solid foundation for development while permitting incremental progress.
A crucial mistake that leads to high uninstall rates is ignoring the user interface (UI) when developing an app. Based on the most popular apps, users anticipate easy navigation, search features that are easily available, and a user-friendly main menu. Similar to how an unexpected app layout can irritate visitors, too imaginative user interface designs that depart from accepted conventions can do the same.
Developing an Android app is a strategic move that opens doors to vast opportunities in the mobile-first digital world, especially with the global market that has become Android’s dominant platform with millions of active users. By joining hands with the right development framework, managing your budget along with avoiding common mistakes like poor UI/UX or skipping MVP development, which are essential to a successful app have become the top choice.
Investing in the app development for android can take your brand visibility, customer engagement and revenue generation to the next level. With the right approach and continuous learning, building an app in Android that makes you stand out in the competitive world is not just achievable but a smart move for future-focused businesses.
Not sure where to start? Let professionals at Appingine help you create an android application that is high-performance and especially designed according to your business goals.
Hire ExpertsTo start building an app in Android, you need a few essential tools and skills. By installing Android Studio, which is the official Integrated Development Environment (IDE) for Android, you should also have a basic understanding of Java or Kotlin, XML for UI design, and familiarity with APIs and SDKs. And if you are a beginner, you may start with templates and simple projects to get hands-on experience.
Yes! One with no coding experience and no clue in how to design an android application, they can easily create Android apps by using no-code platforms like Shoutem, Thunkable, or Appgyver. These platforms allow users to design, build, and publish apps using drag-and-drop interfaces without writing a single line of code.
Native development uses platform-specific languages (like Kotlin or Java for Android) and delivers better performance with deeper and better device integration. Cross-platform development (using frameworks like Flutter or React Native) allows the experts of Appingine to write one codebase for both Android and iOS, which saves time and costs. Before making a choice it is necessary to consider the app's performance needs, budget, and team expertise for better and high-quality results.
The cost of creating android apps can vary widely depending on the factors, which include app’s complexity, features, design, and the development team’s location as well as expertise. A simple app may cost a few thousand dollars, while more advanced apps with the collection of features and functionalities can go beyond $100,000.
Some of the most common mistakes include:
By avoiding these pitfalls ensures a smoother development process and increases chances of launching a successful and user-friendly app.
Tel: +1 (800) 453-1297
Email: [email protected]
Main Office: 4929 Wilshire Blvd, Los Angeles, CA 90010
© 2026 Appingine. All Rights Reserved.